Source Messages
This guide will walk you through the process of setting up source messages in Crysp IQ. From uploading a CSV dataset to configuring message details, you'll learn all the steps needed to manage source messages.
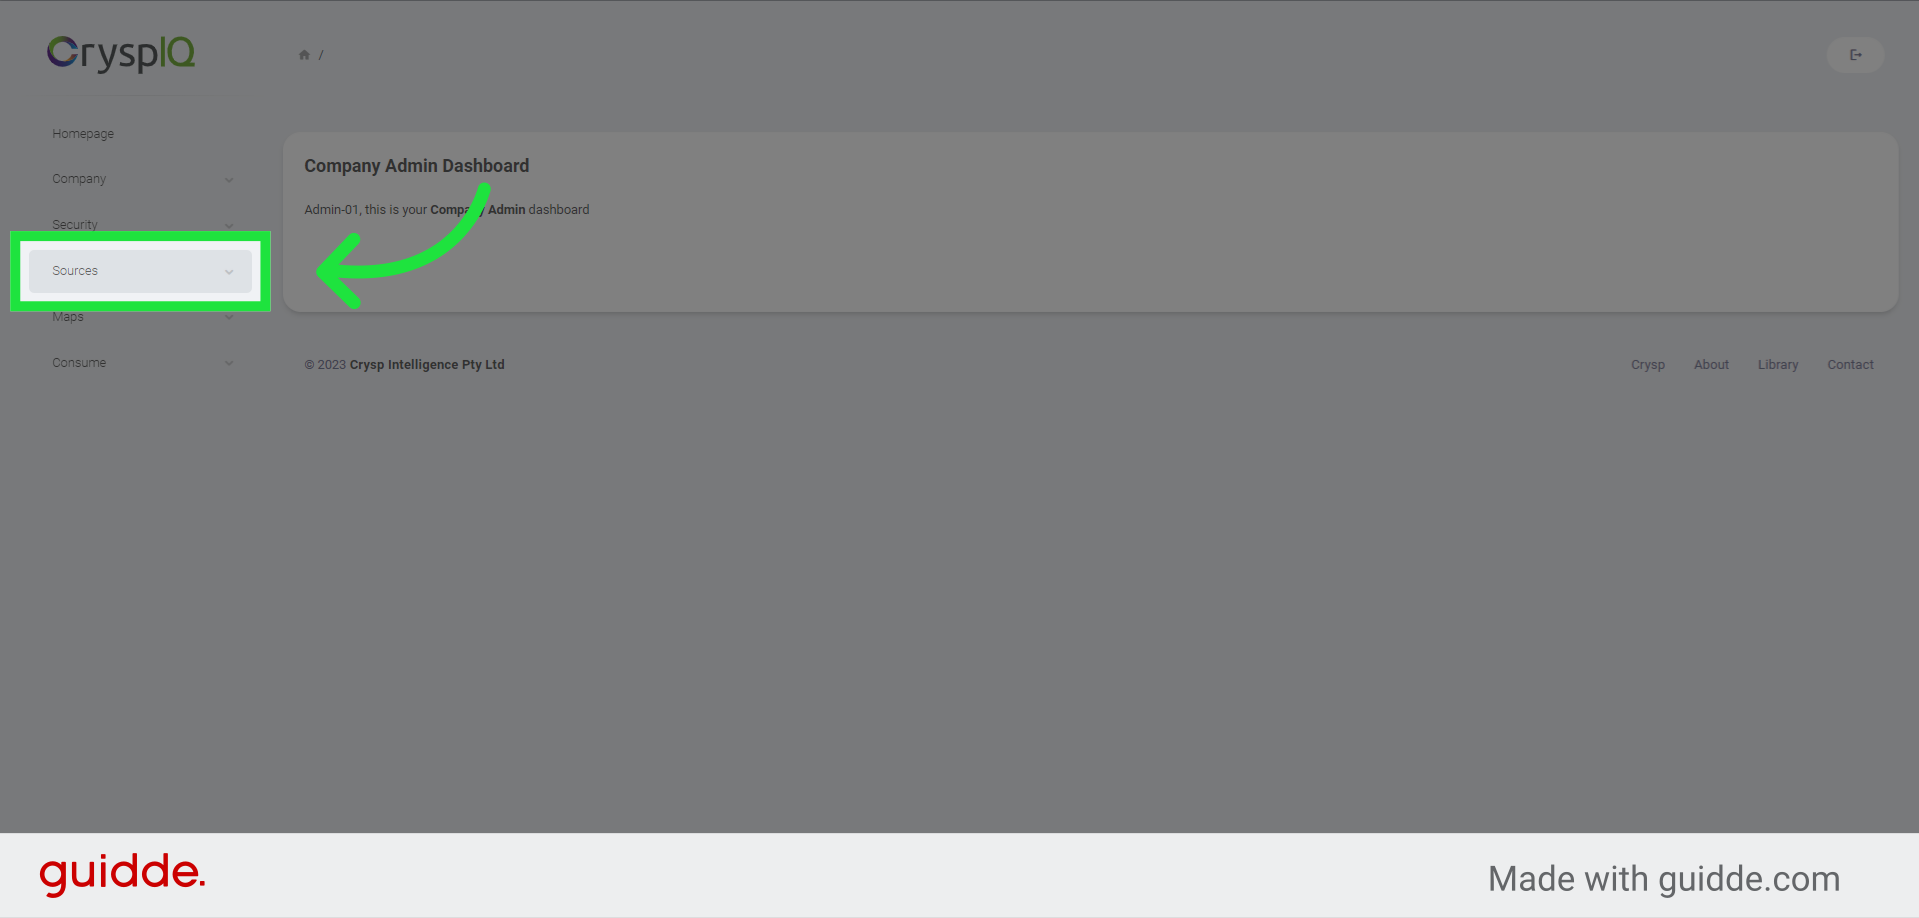
1. Click "Sources"
First, expand the sources panel.
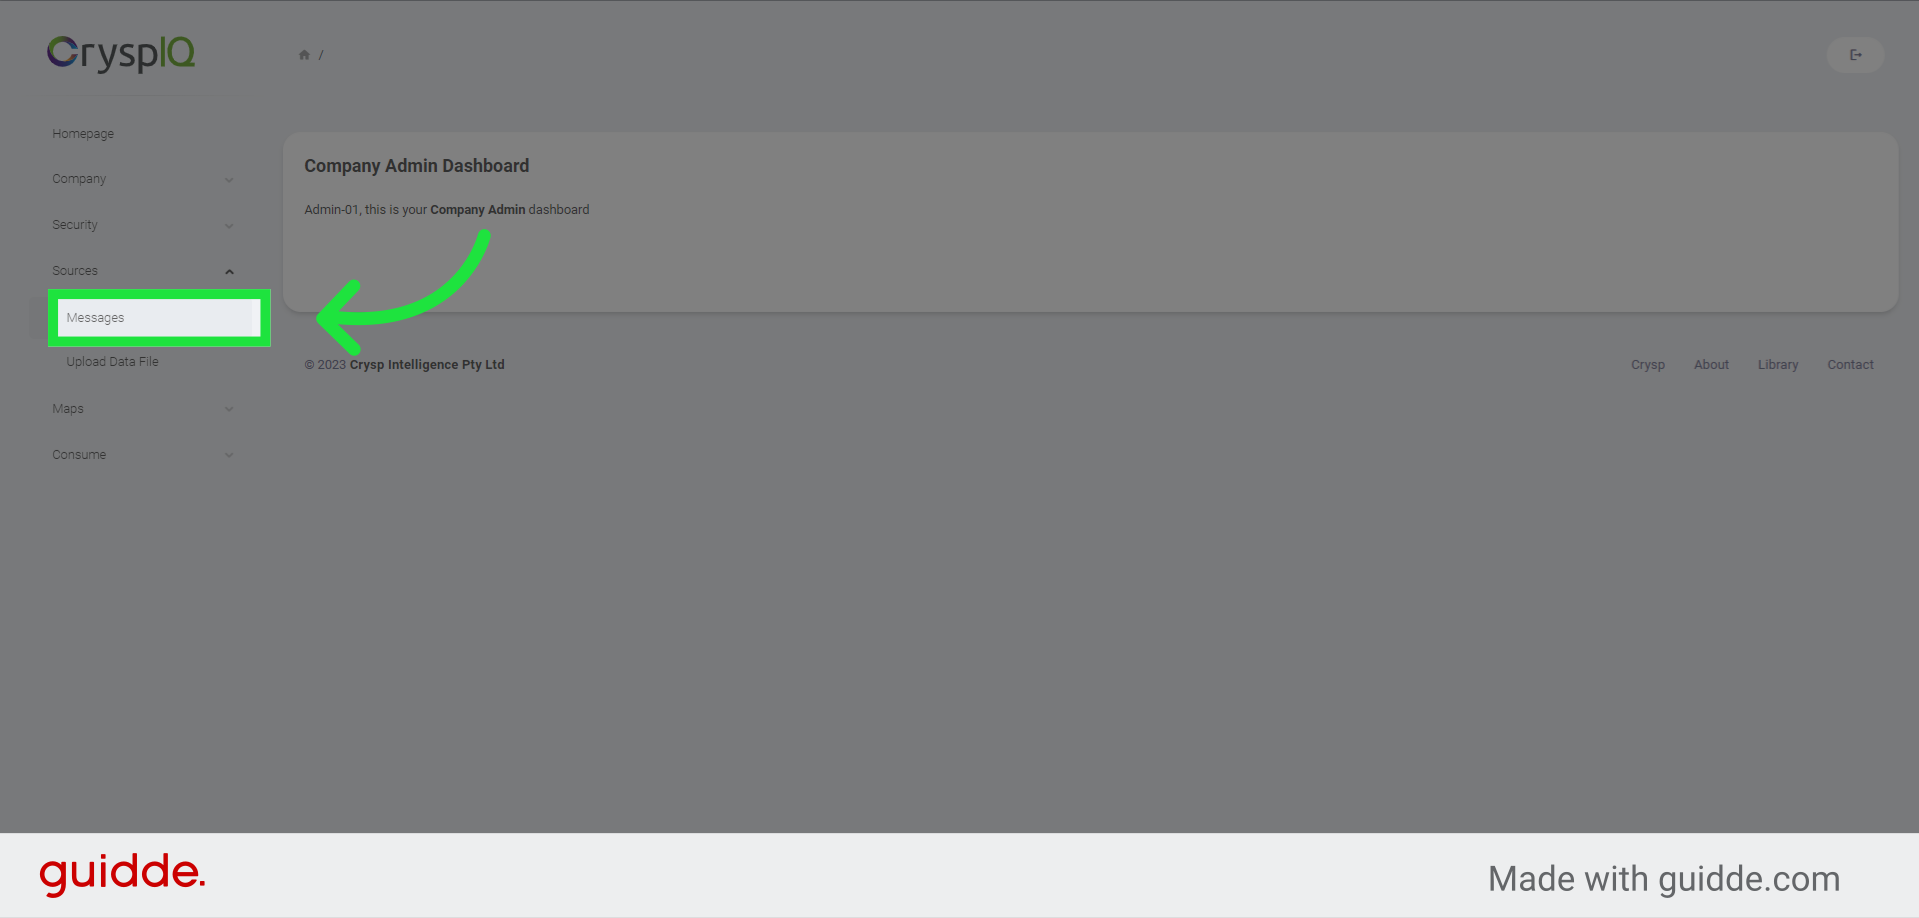
2. Click on "Messages"
Then navigate to the messages section.
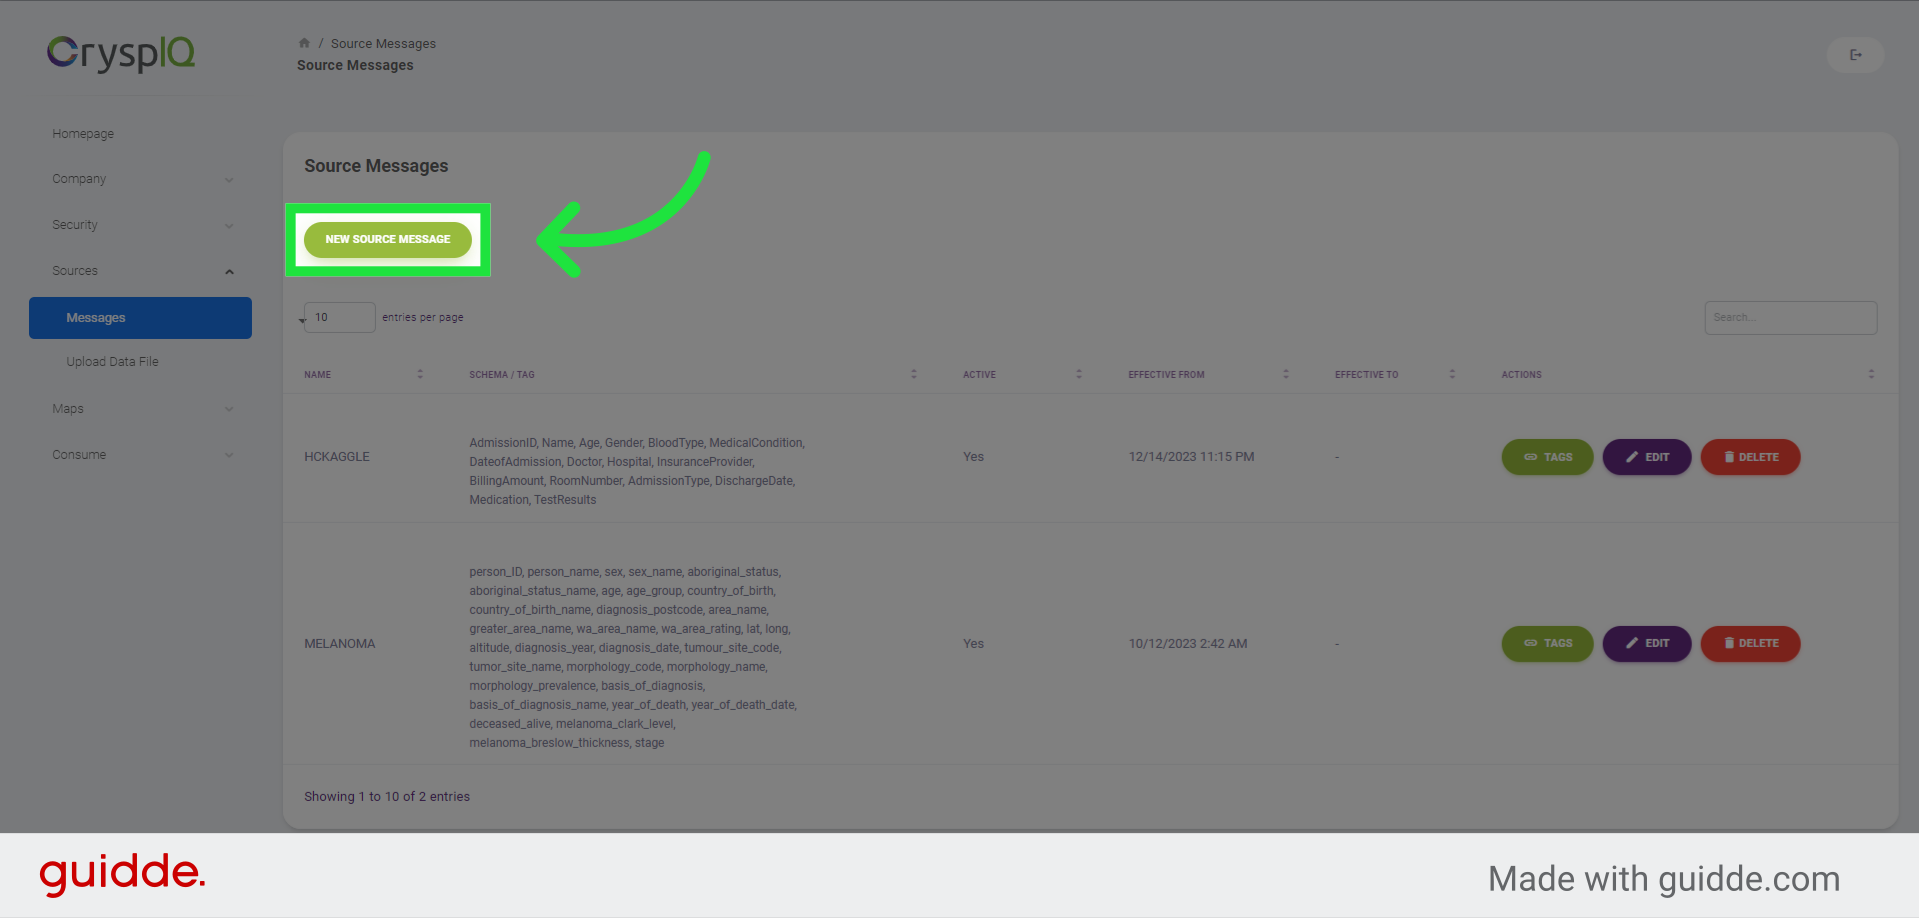
3. Click "New Source Message"
Now click on the "New Source Message" button to create a new source message.
4. Select a CSV dataset from your files
Select a CSV dataset from your files. In this example we will select a CSV file with healthcare data. The CSV file was created with headings.
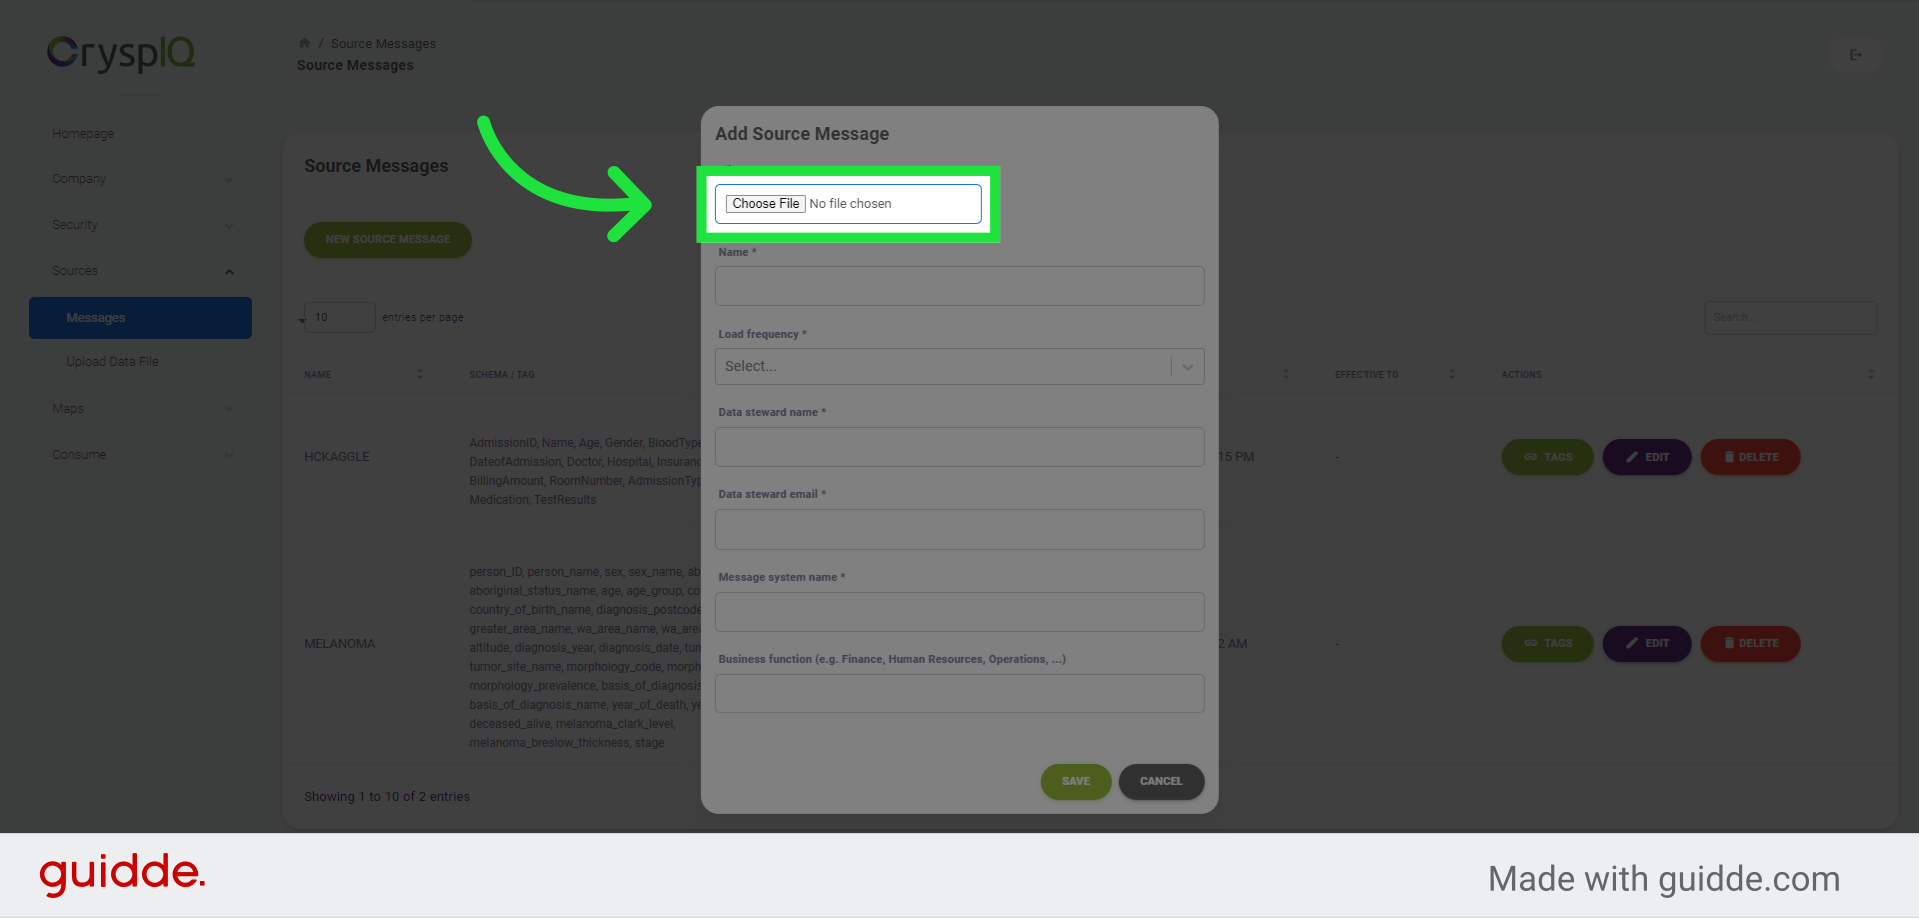
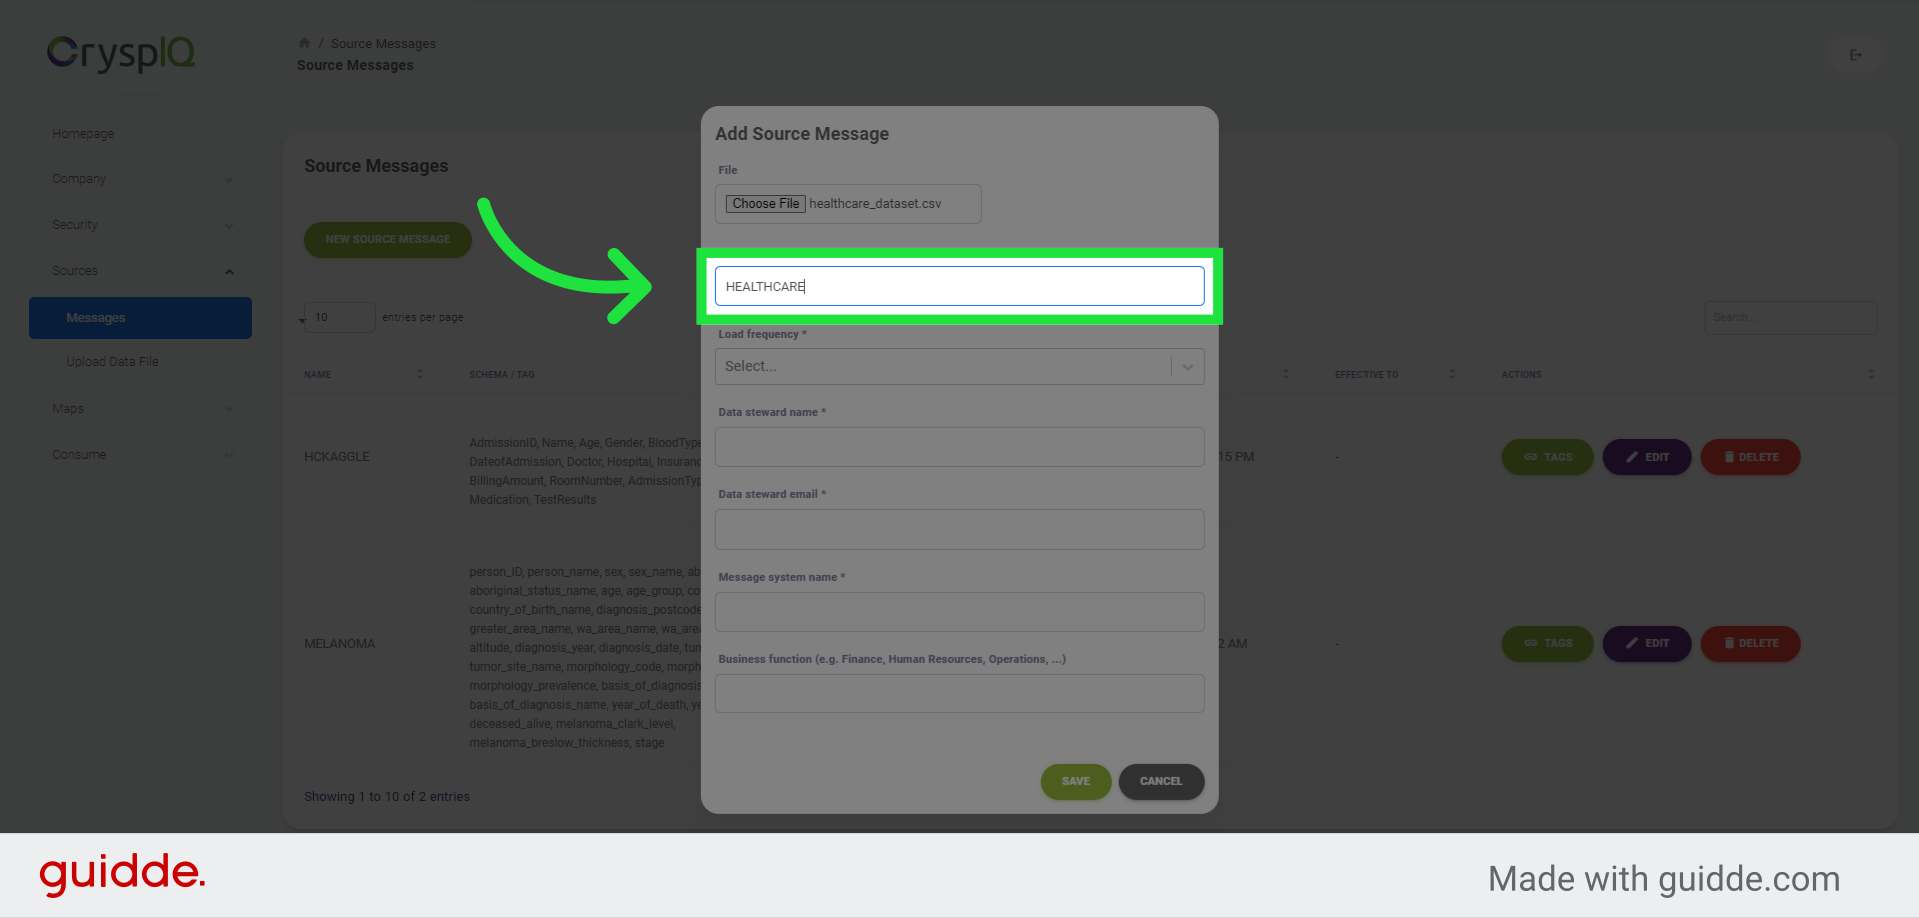
5. Enter a name for the Source Message
Now enter a name for the Source Message. The name need to be in uppercase with no spaces.
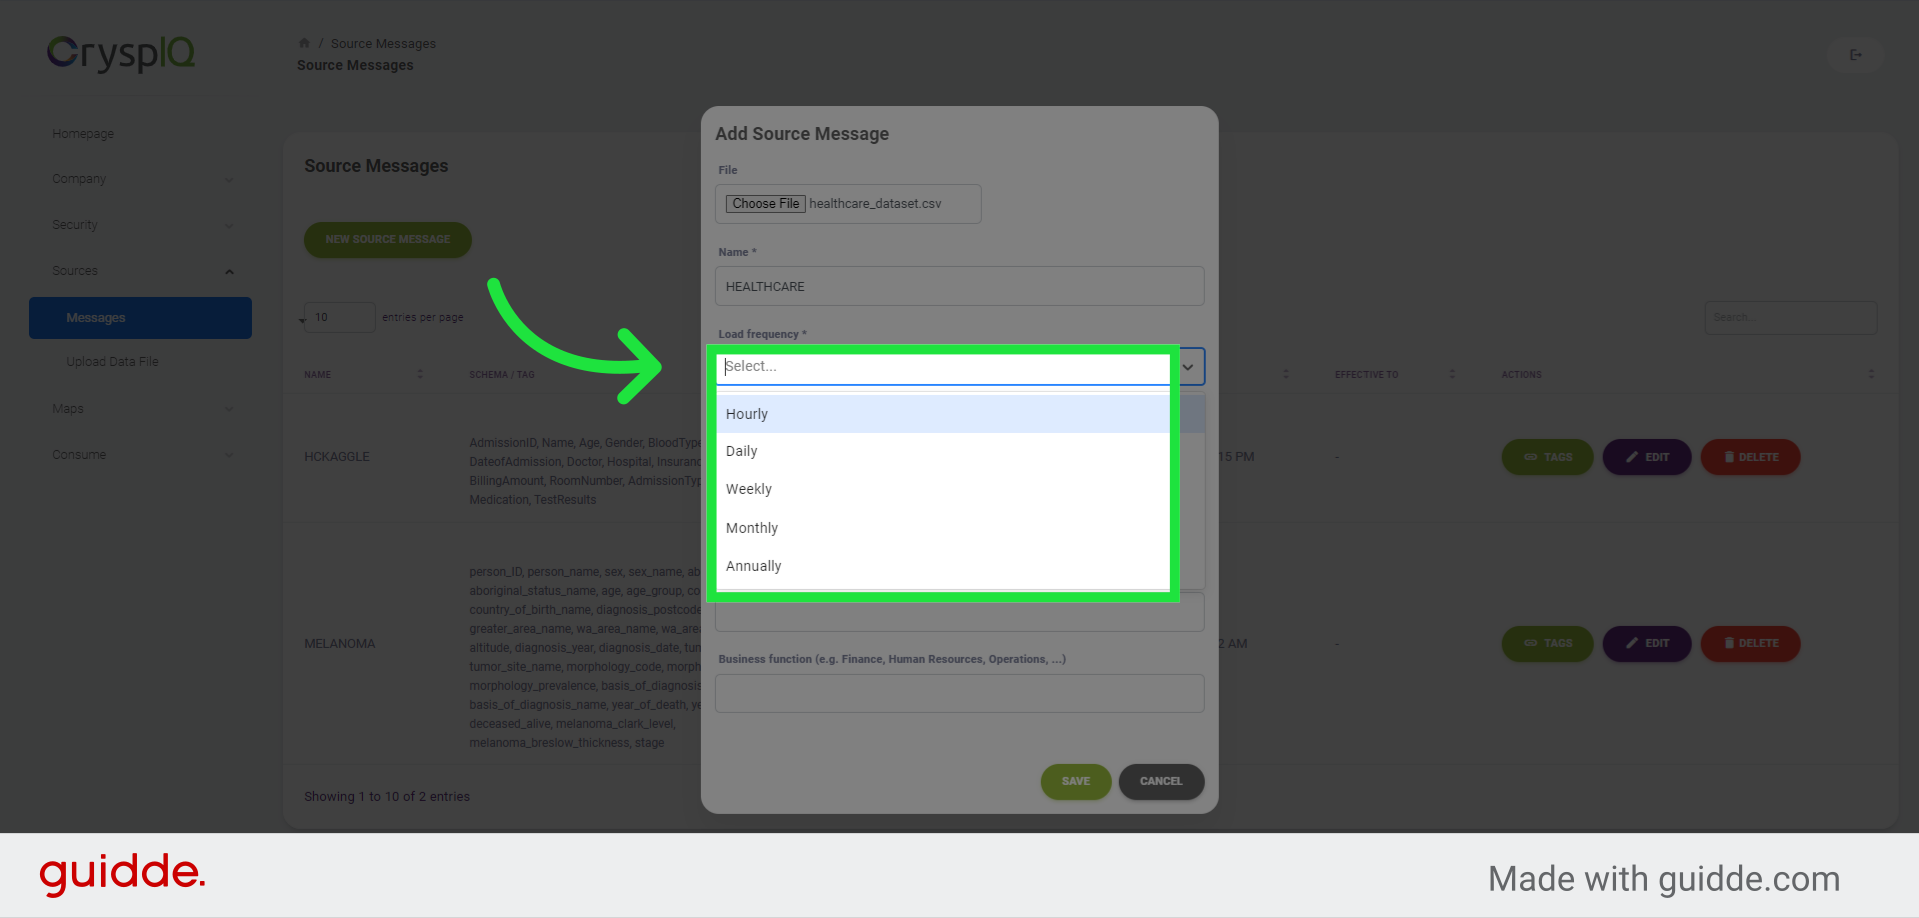
6. Select the Frequency of the Source Message
Next, you need to specify the frequency of the Source Message. This is the frequency that Crysp IQ will attempt to load the data contained in the source message.
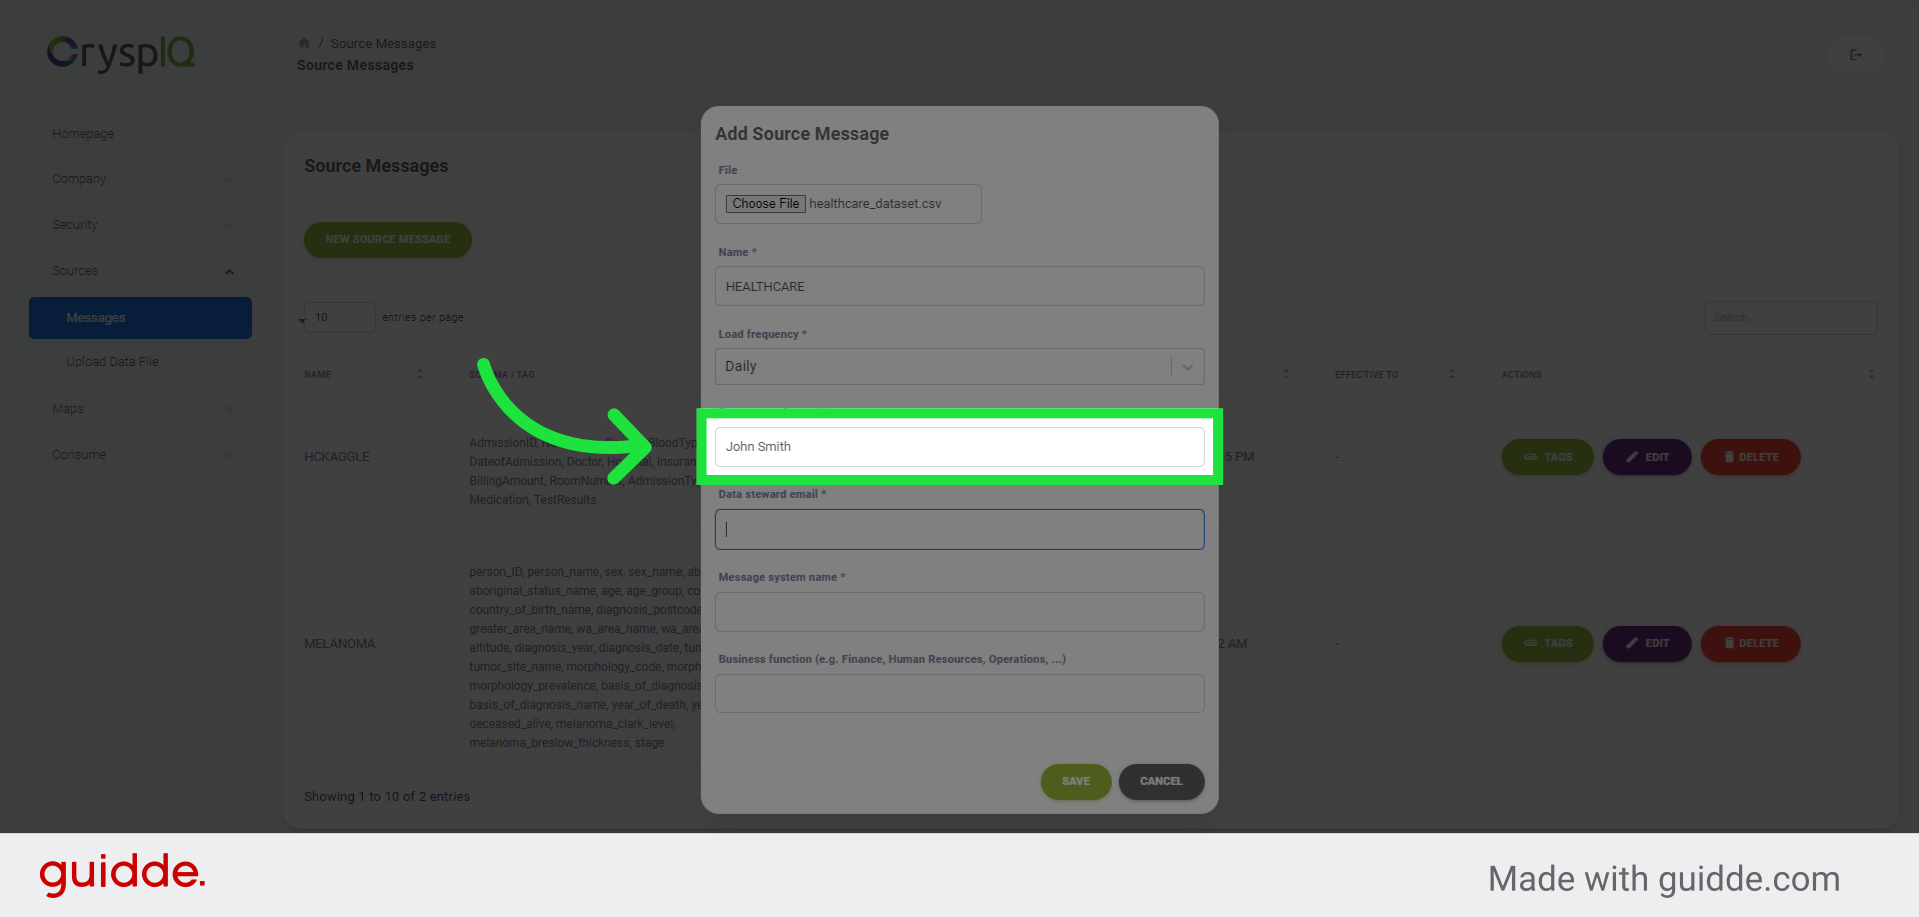
7. Enter the Data Steward name
Enter the name of the Data Steward responsible for this data source. This is the person who will be notified when there are data quality or data loading problems related to this source message.
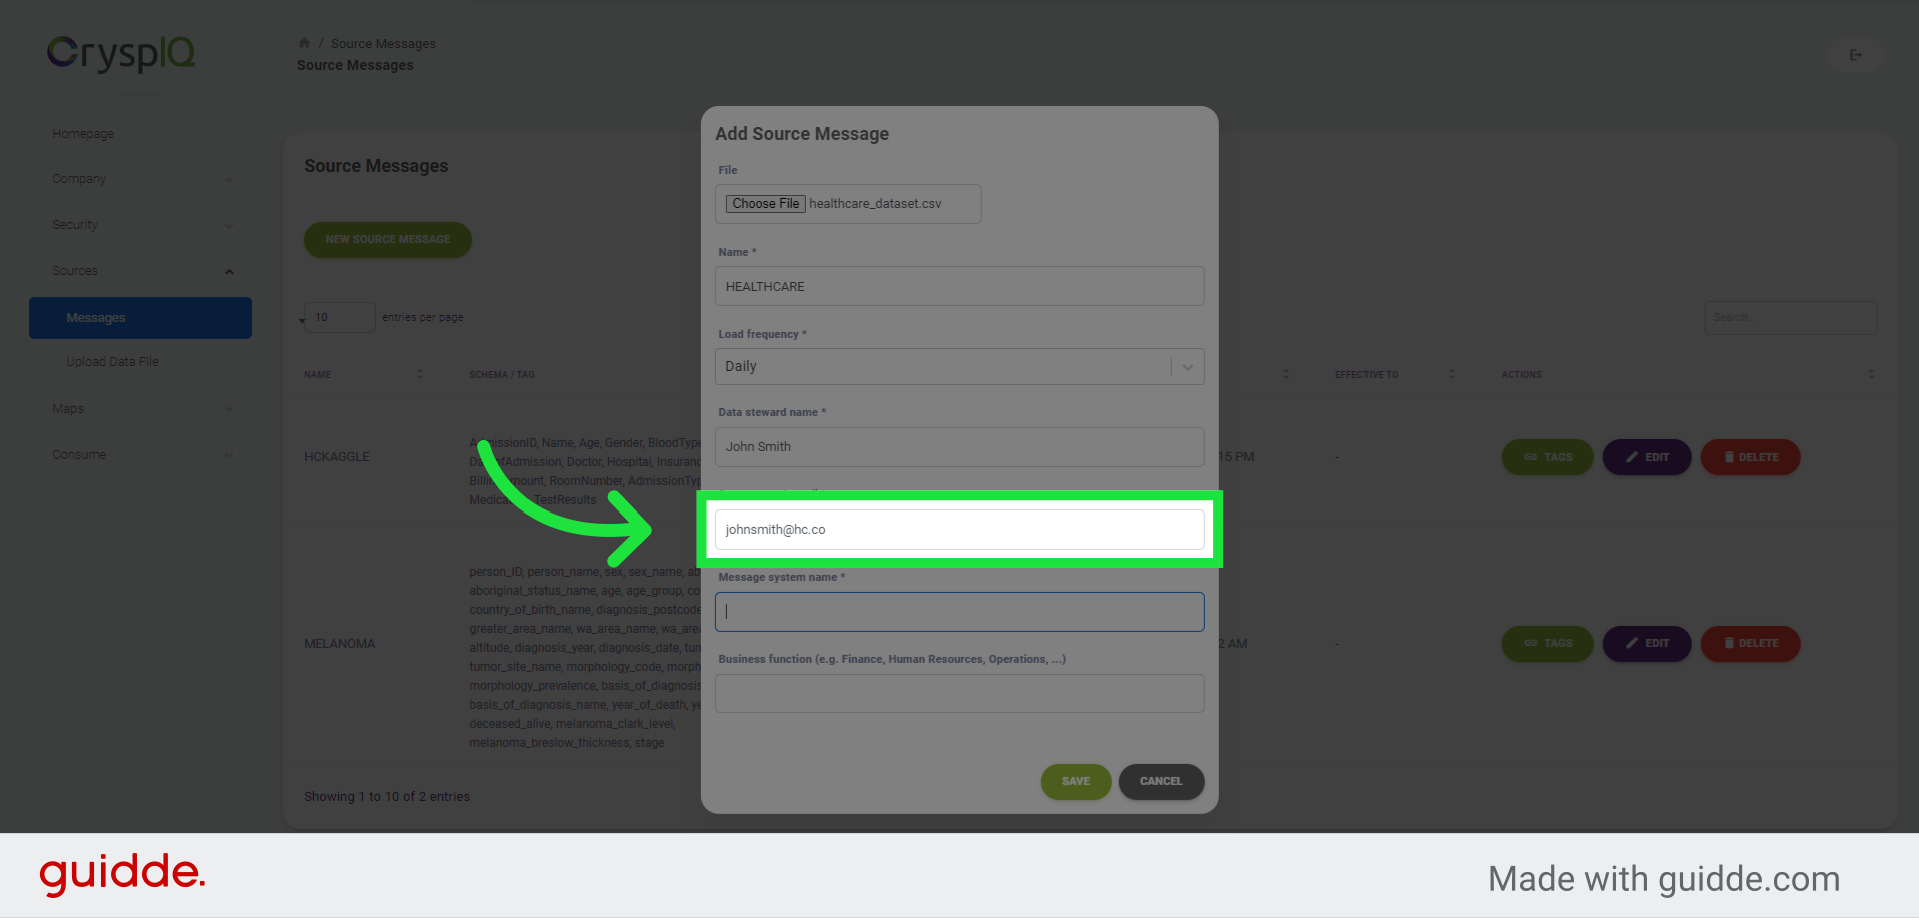
8. Enter an email address for the Data Steward
Now enter an email address for the Data Steward. This is where any notification or alert relating to the source message will be sent.
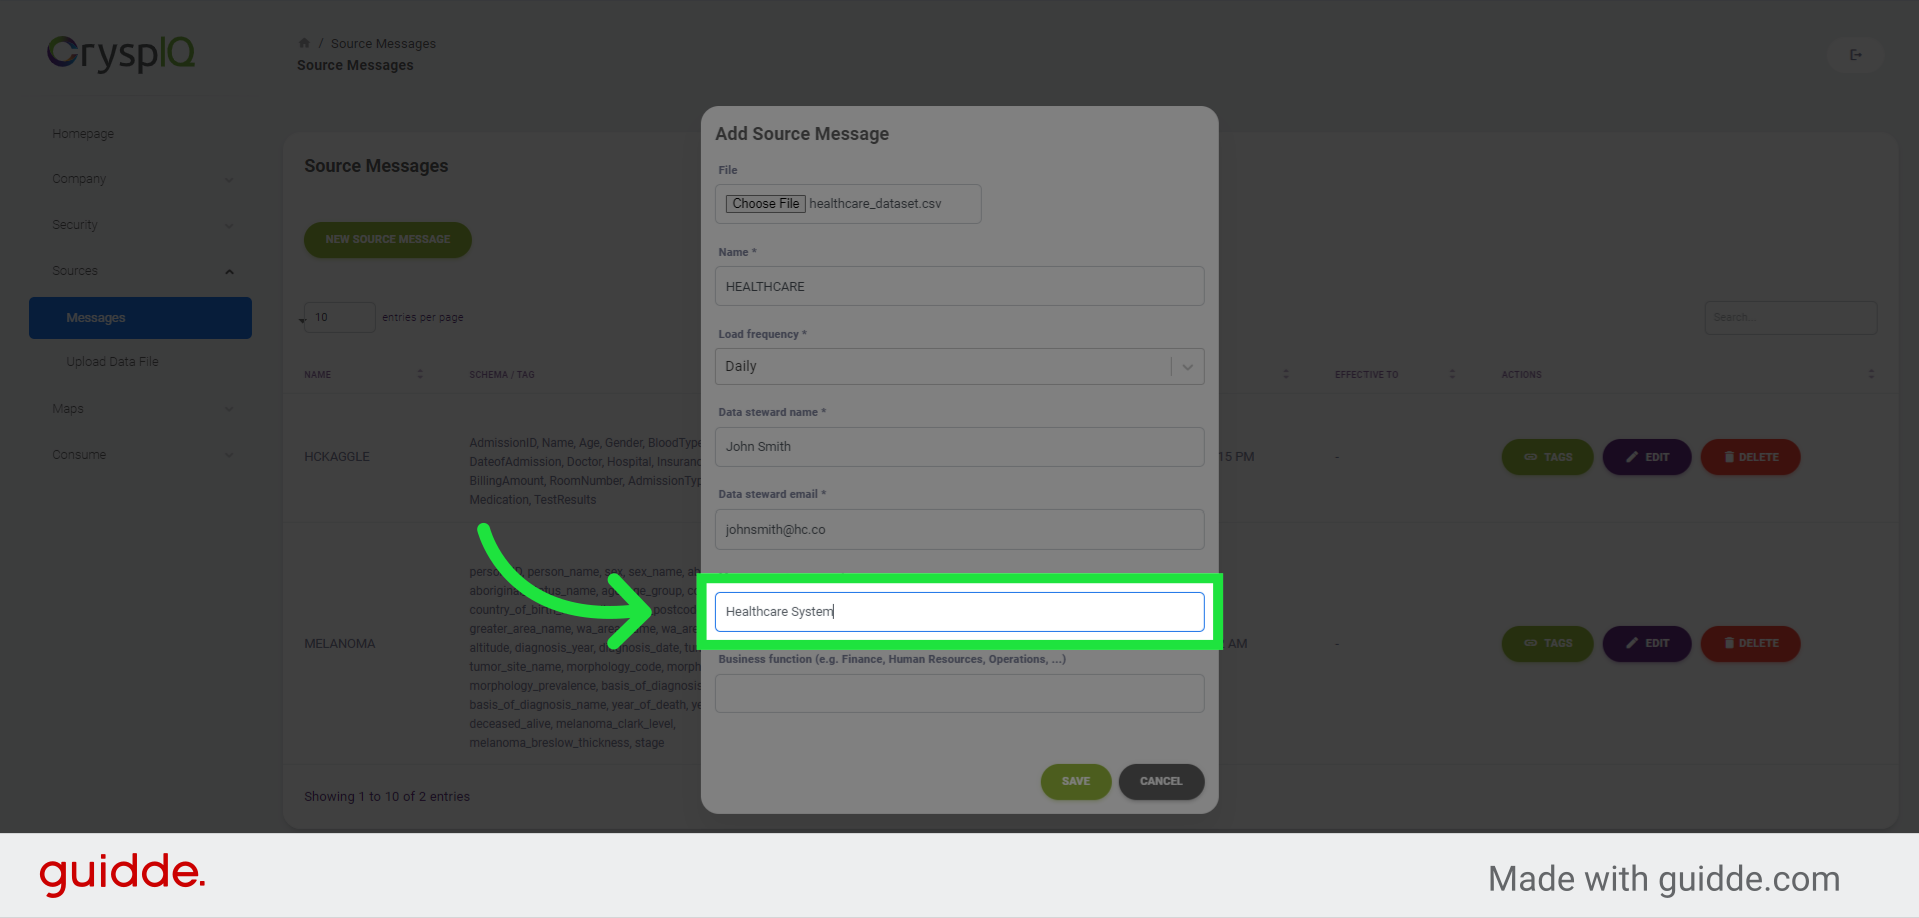
9. Enter the Originating System Name
Enter the Originating System Name for this source message. This metadata is useful for reporting and visualising all data sources per source system.
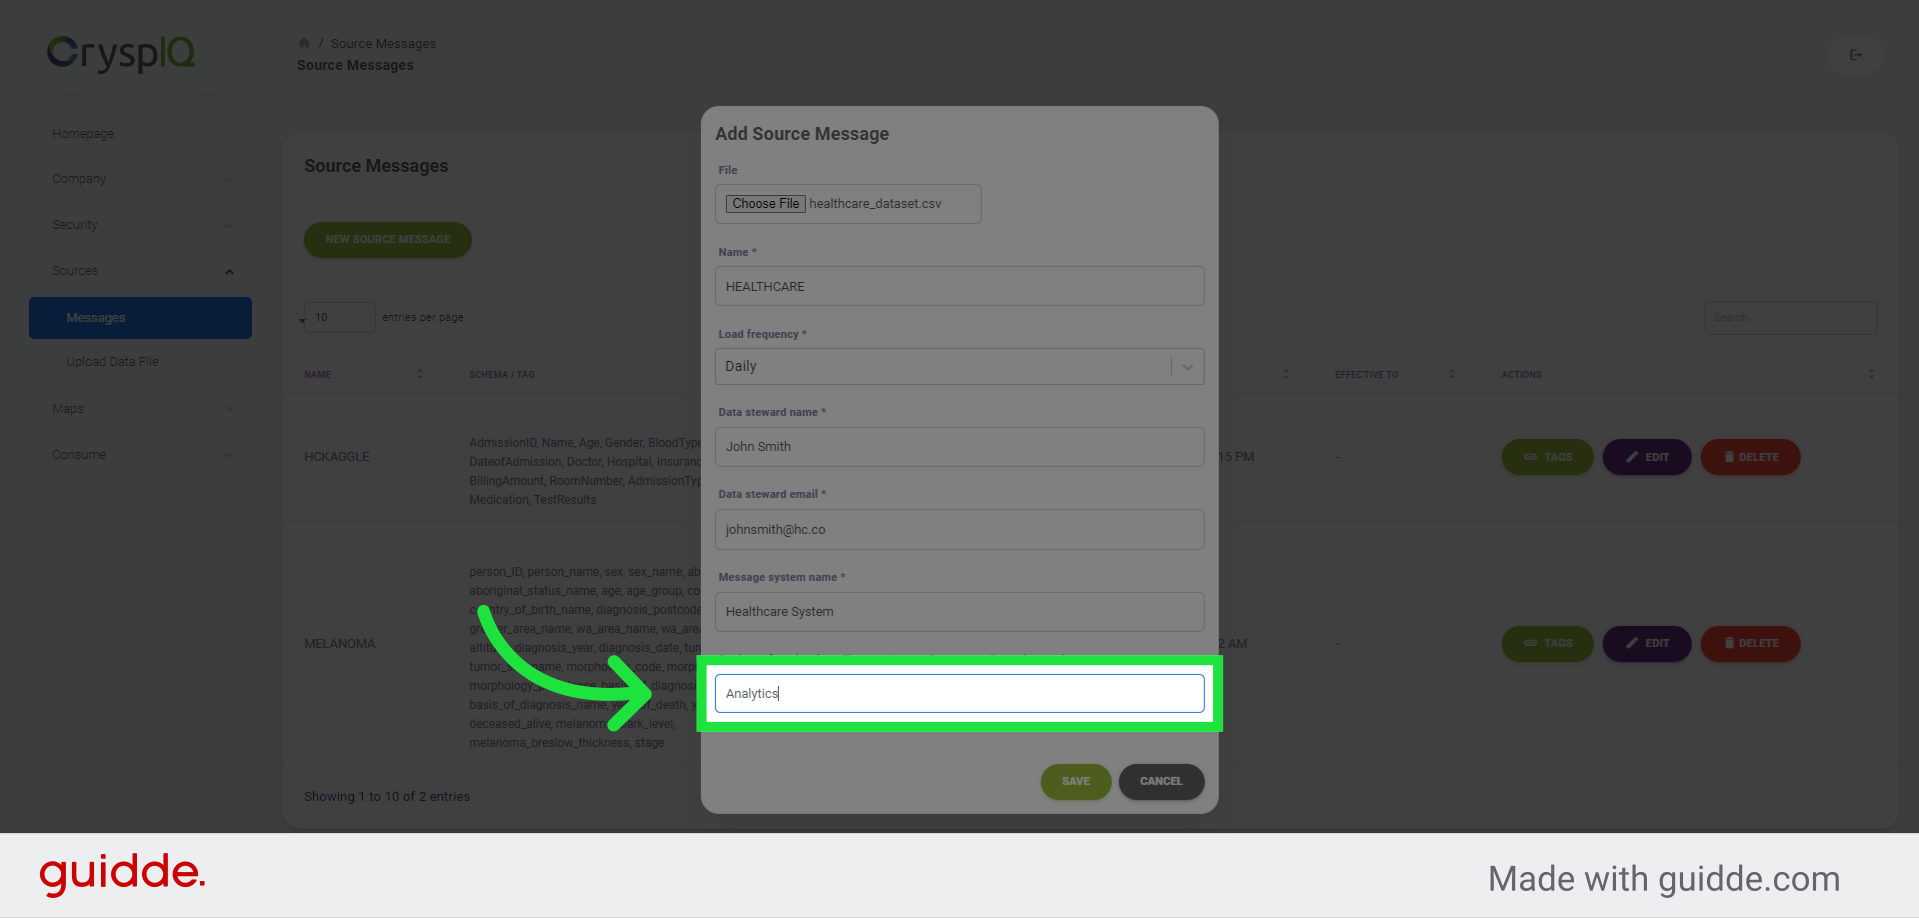
10. Enter the department responsible for the Source Message
Enter the department responsible for the Source Message. This metadata is useful for reporting and visualising all data sources per department.
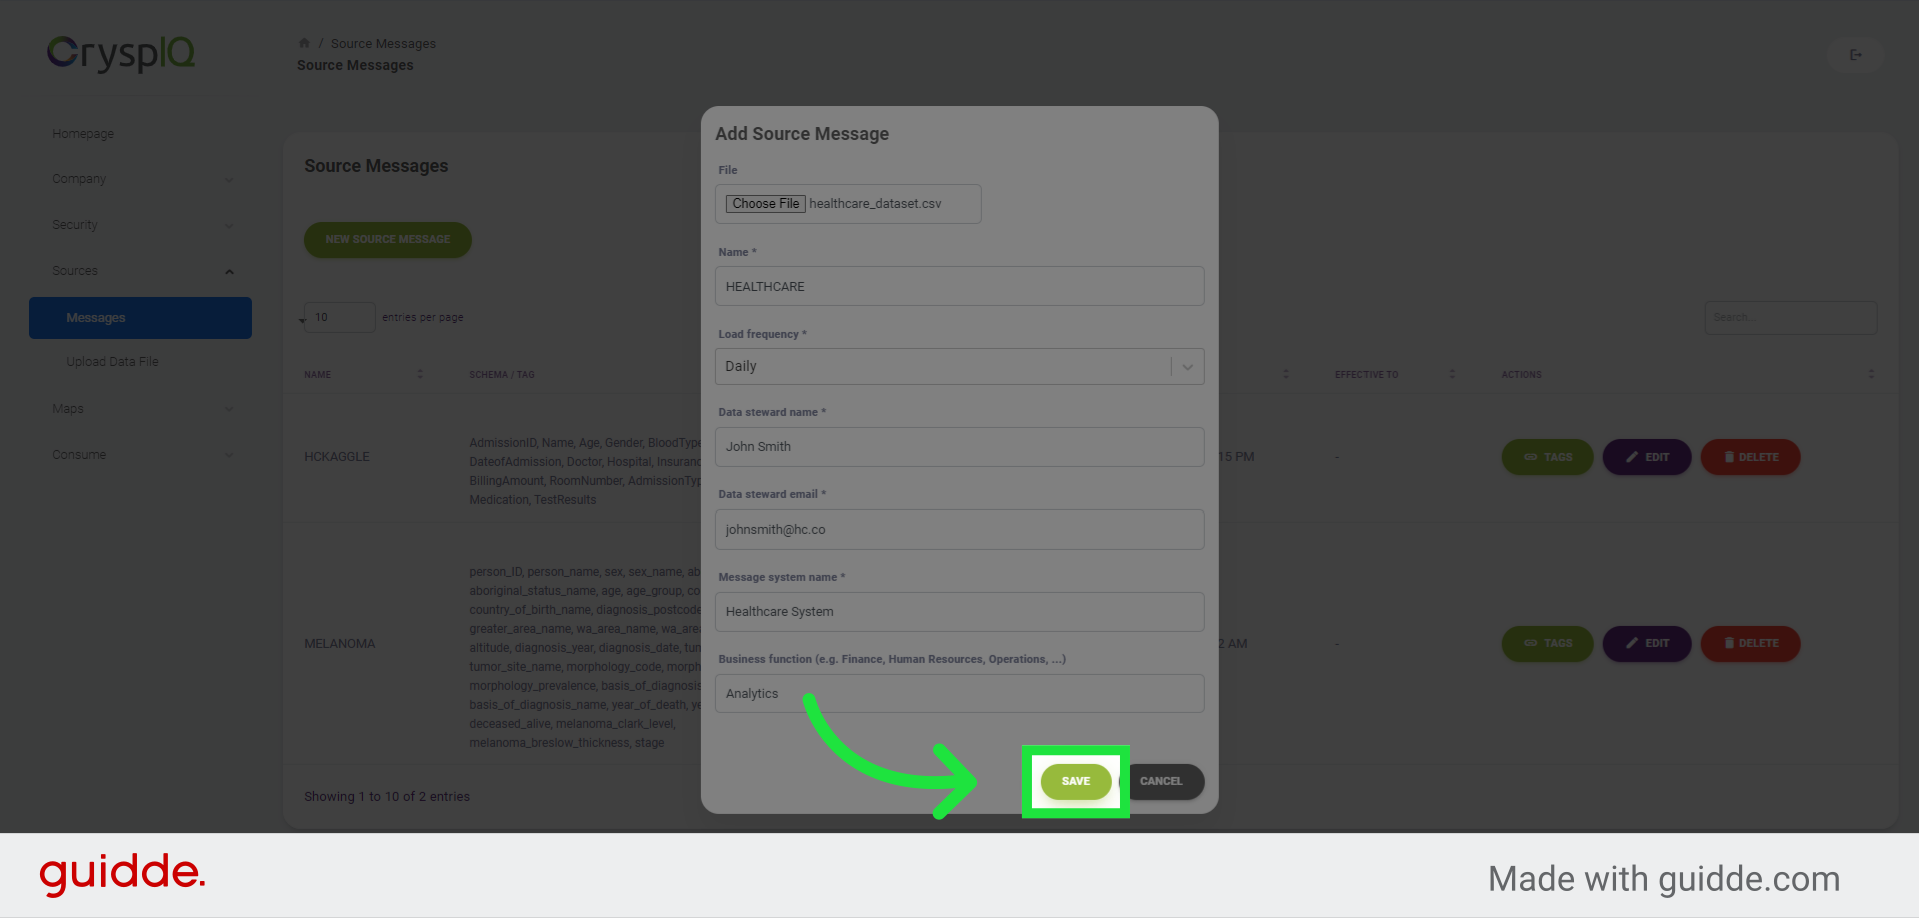
11. Click "Save" to create the Source Message
Finally, click the "Save" button to create the Source Message. Crysp IQ will read the CSV file, automatically label the fields, and associate a data type per field or tag.
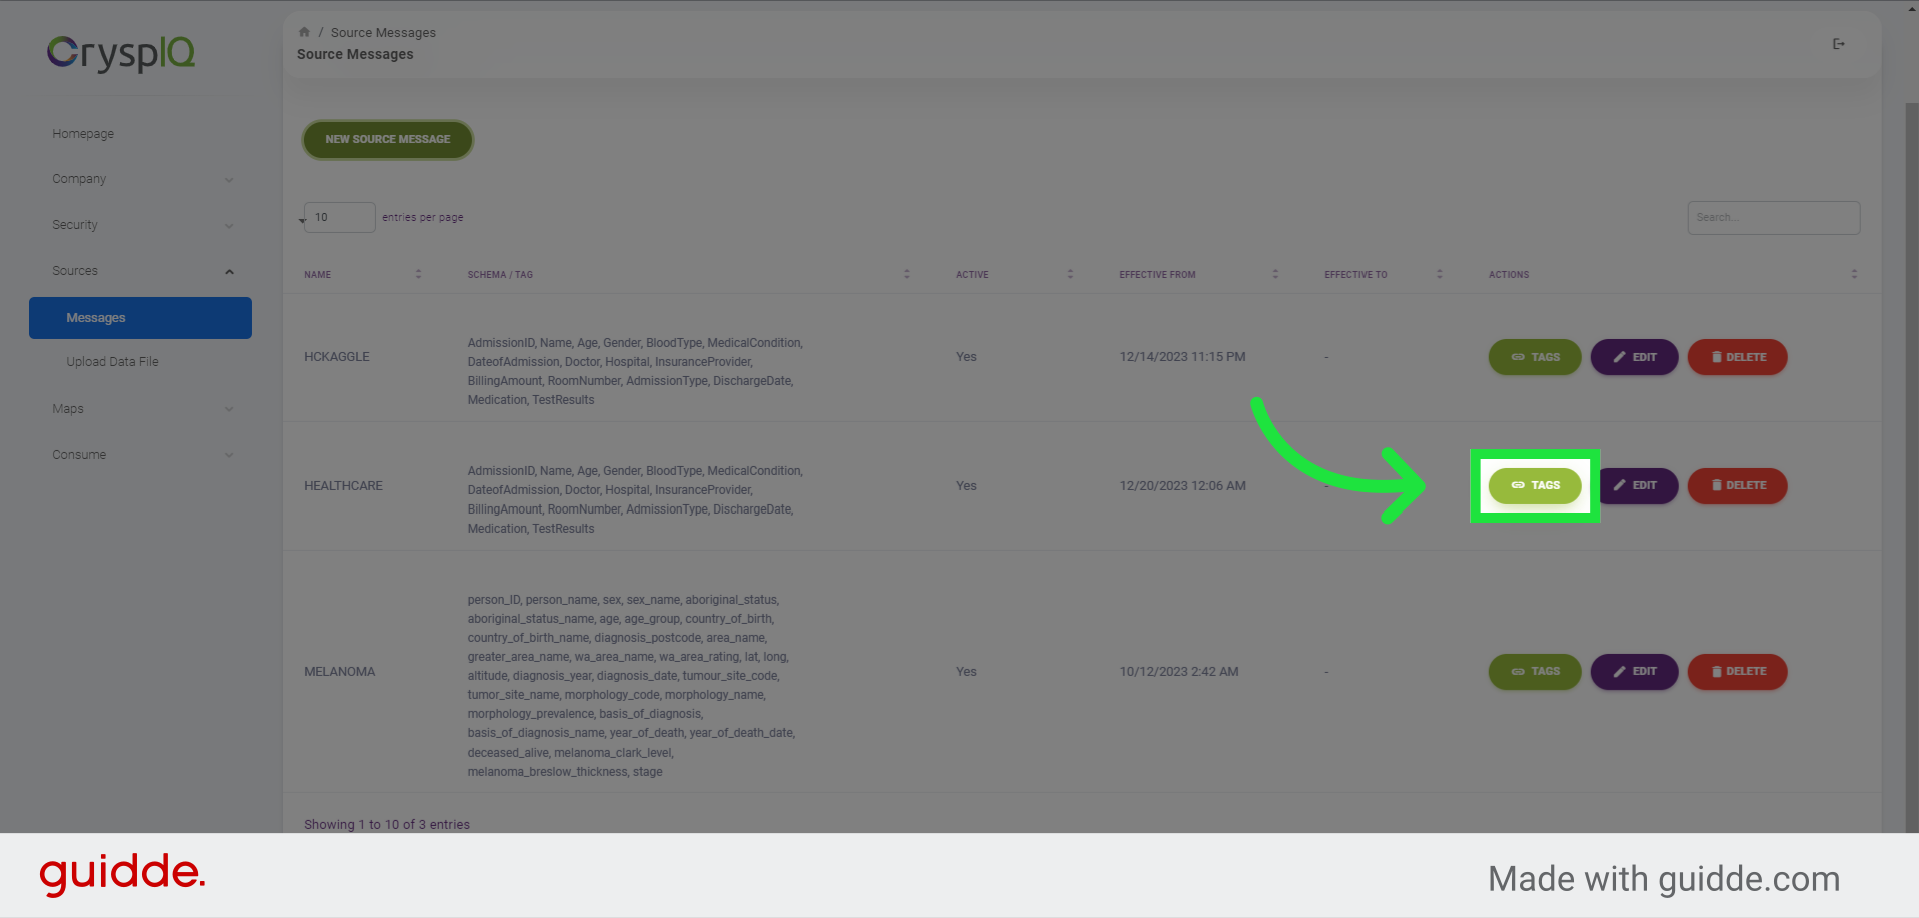
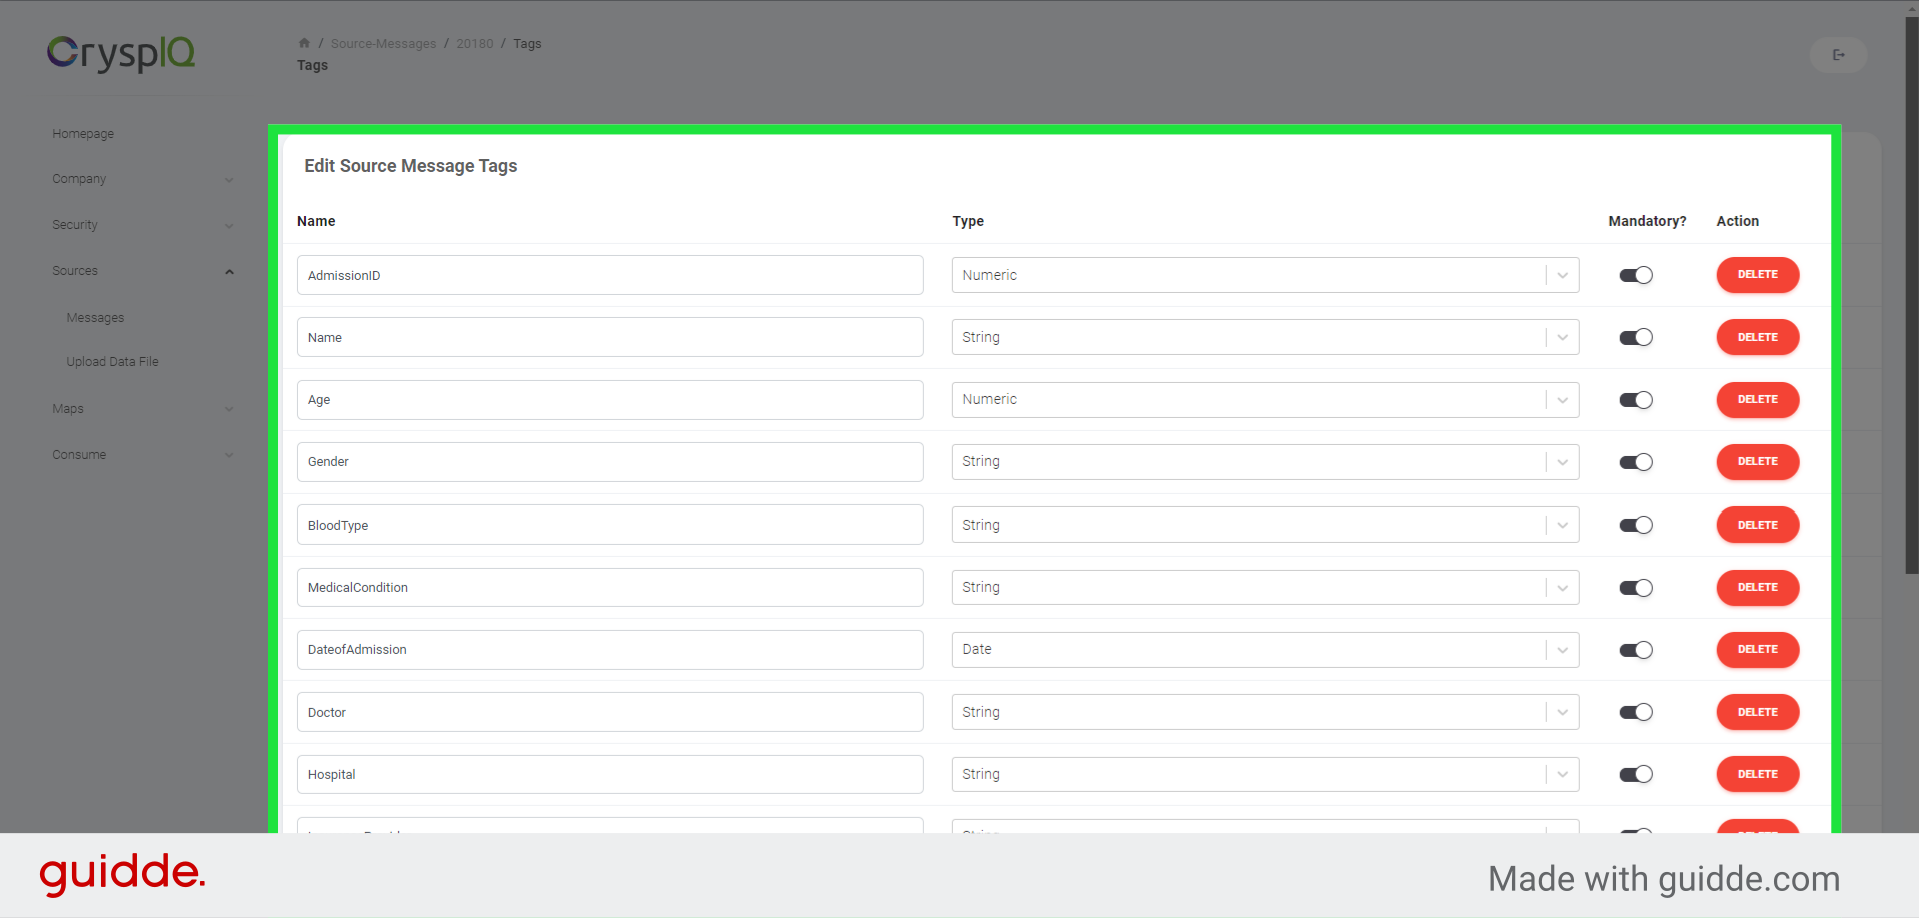
12. Click "Tags"
To view all source tags, click on the tags button.
13. Tag names, types, and options
As you can see, all tag names, types, and options are shown in the Tags page.
In this guide, you learned how to set up source messages in Crysp IQ. You learned how to upload a dataset, choose a frequency, and define message details. By following these steps, you'll be able to effectively manage your source messages.